Boosting Productivity
Introduction
This document shows some of the skills I learned (from the Internet or my co-workers) to boost productivity.
VSCode Skills
Useful Shortcuts
- Comment out multiple lines: cmd+k+c
- Modify all occurrences: cmd+d
- Close the current windowL: cmd+w
- Close all opened windows: cmd+k+w
- Quickly open a file using its name: cmd+p and then type in the filename
Project-Specific VSCode Settings
Press Cmd + Shift + P and then search for Open Workspace Settings:
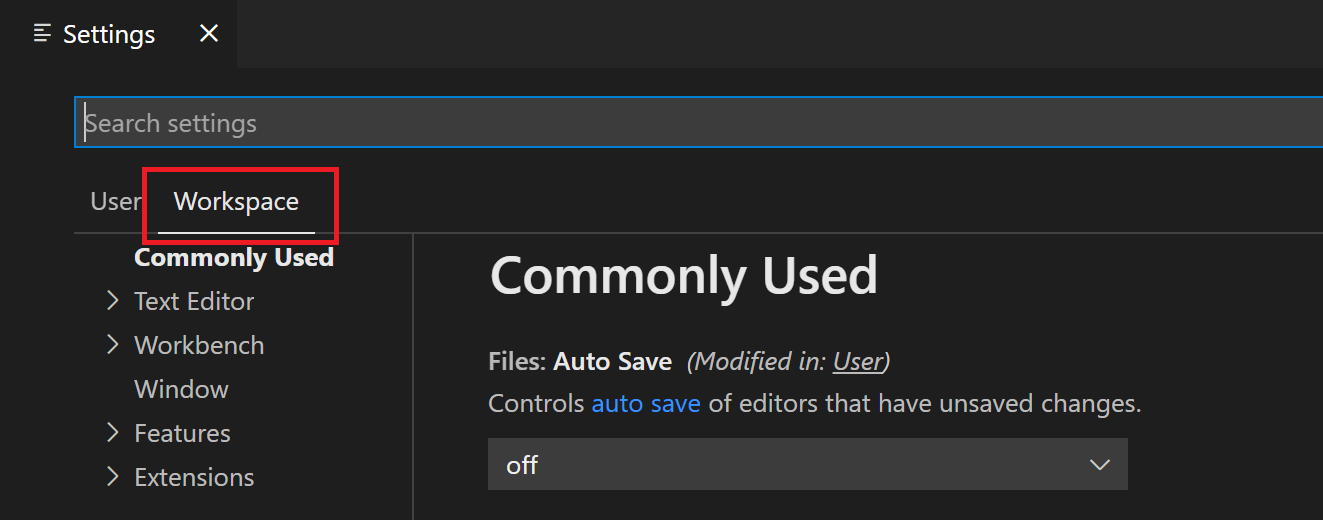
Modify the settings that you want to apply specifically to your current project.
For example, you can change the
Editor: Tab Sizefrom4to2(if needed).After this, a file called
.vscode/settings.jsonwill be created in the root of your project (workspace).For more information, see VSCode Workspace Settings.
Using SSH to connect to a server in Visual Studio Code
If you have a server, you can edit its files or run commands in it from a remote host using SSH:
ssh username@ip-address
Replace username and ip-address with the actual ones.
In addition to that, you can also edit files from Visual Studio Code with the Remote - SSH extension, which is highly recommended for operations that require a lot of copy-and-paste operations. To use it:
- Install Remote - SSH.
- Press
Command + Shift + Pand chooseRemote-SSH: Connect to Host.... - Enter the SSH information, for example,
username@ip-address.
After this, you can open the server files from Visual Studio Code with ease. For more information, see Remote Development using SSH.
If the device's SSH key has changed, you can either remove the offending key from your known_hosts file or update it with the new key. To do so, open $HOME/.ssh/known_hosts and remove the affected line. It can also be done with a command ssh-keygen -R ip-address.
Command-Line Skills
Highlighting Syntax
Highlighting Commands
You can highlight commands in terminal using oh-my-zsh. Install it as follows:
# use curl
sh -c "$(curl -fsSL https://raw.githubusercontent.com/ohmyzsh/ohmyzsh/master/tools/install.sh)"

# use wget
sh -c "$(wget https://raw.githubusercontent.com/ohmyzsh/ohmyzsh/master/tools/install.sh -O -)"
Highlighting vim Syntax
Create or edit
~/.vimrc.vim ~/.vimrcAppend the following line to the file:
syntax on
For more information, see this doc.
Changing the Default Directory in Terminal
The default directory of the terminal is the user's root directory. If you want to change it to a directory that is used more often, you can:
Open the
~/.zshrcfile:vi ~/.zshrcAdd the following line to the file. Note that you need to replace
<target-directory>with the directory you wish to open every time you open the terminal.cd <target-directory>After this, the default directory of the terminal will become
<target-directory>.
Creating Command Aliases in Mac
Open the
~/.zshrcfile:vi ~/.zshrcIn the editor, add your alias in the format of
alias shortname="actual command"(e.g.,alias m="multipass"). You can add multiple aliases (one alias per line).At the end of the file, add the following line:
source ~/.zshrcIn this way, your aliases will be permanent, meaning they will take effect even if you exit the terminal and reopen it.